FAQ
Please refer the frequently ask question for your quick help

Introduction
Creating a GDB (Graphical Debugger) account is a simple process that allows you to explore and update your programming skills. Follow the step-by-step guide below to create your account on GDB.
Step 1: Access the Website
-
Open your preferred web browser.
-
In the address bar, enter the URL: https://www.onlinegdb.com/ and press Enter.
-
The GDB website will load, presenting you with a user-friendly interface.
-
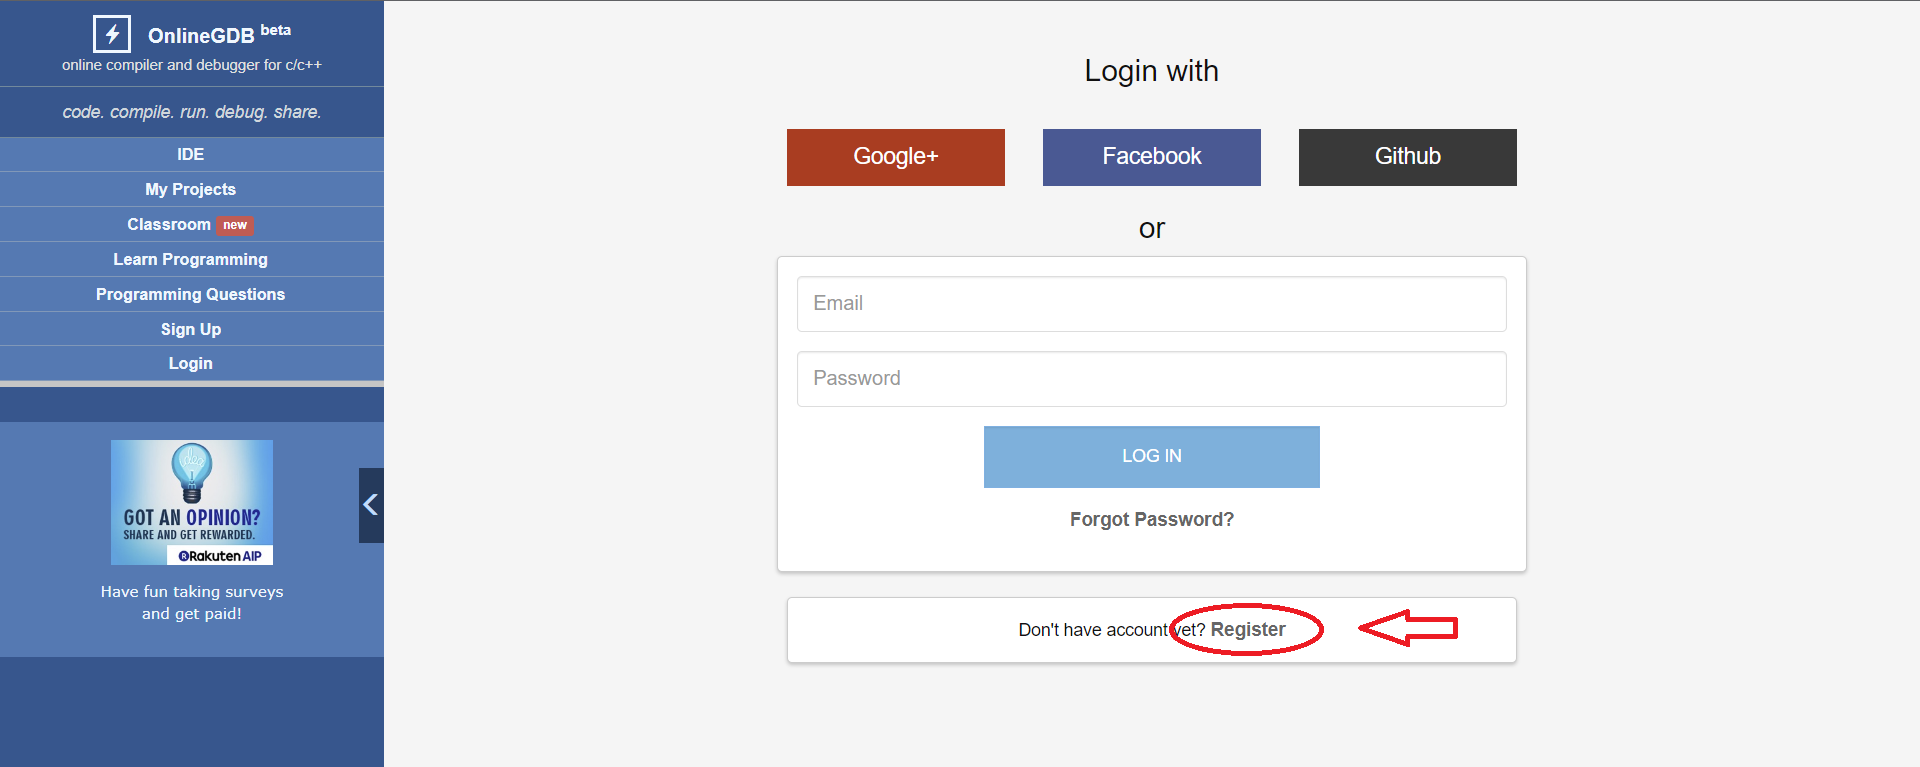
If you already registered and have your login credentials to access your GDB profile. On the left side panel, locate the Login button and click on it.

Step 2: Registration Process
-
On the left side panel, locate the SignUp button and click on it.
-
You will be redirected to the registration page..
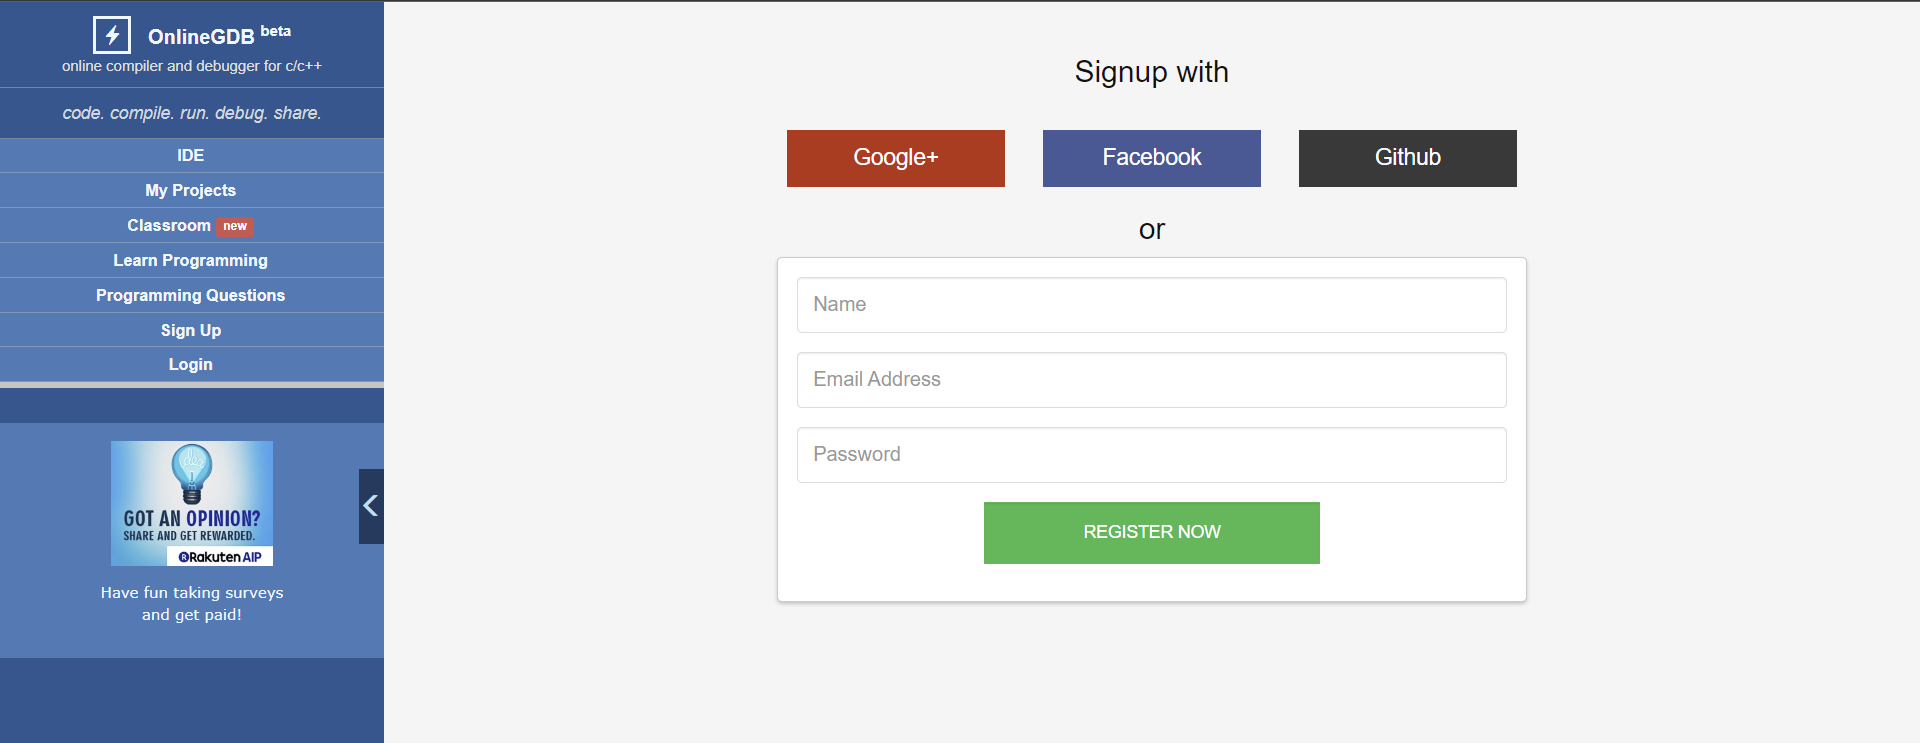
Step 3: Provide Your Information
-
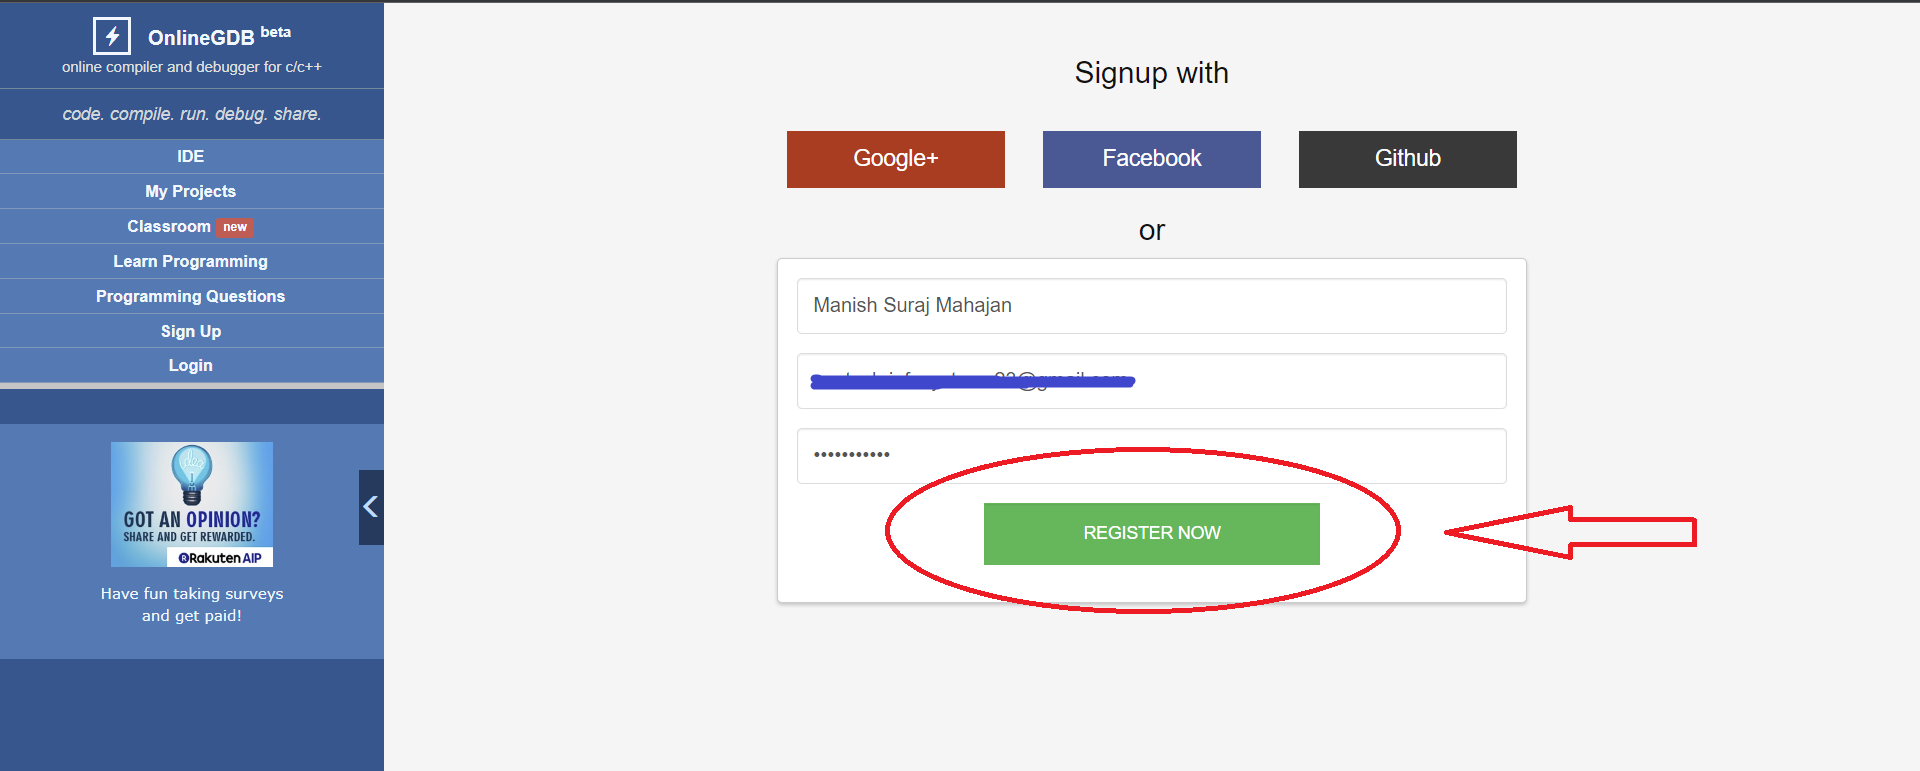
Fill in your Full Name in the designated field. For example, if your name is Manish Suraj Mahajan, enter it exactly as shown.
-
Enter your Email ID in the respective field. Make sure to provide a valid and accessible email address.
-
Choose a password of your choice and enter it in the "Password" field. Make sure to create a secure password that combines upper and lowercase letters, numbers, and special characters.
Step 4: Complete the Registration
-
After filling in the required information, click on the "Register Now" button.
-
A verification email will be sent to the email address you provided during registration.
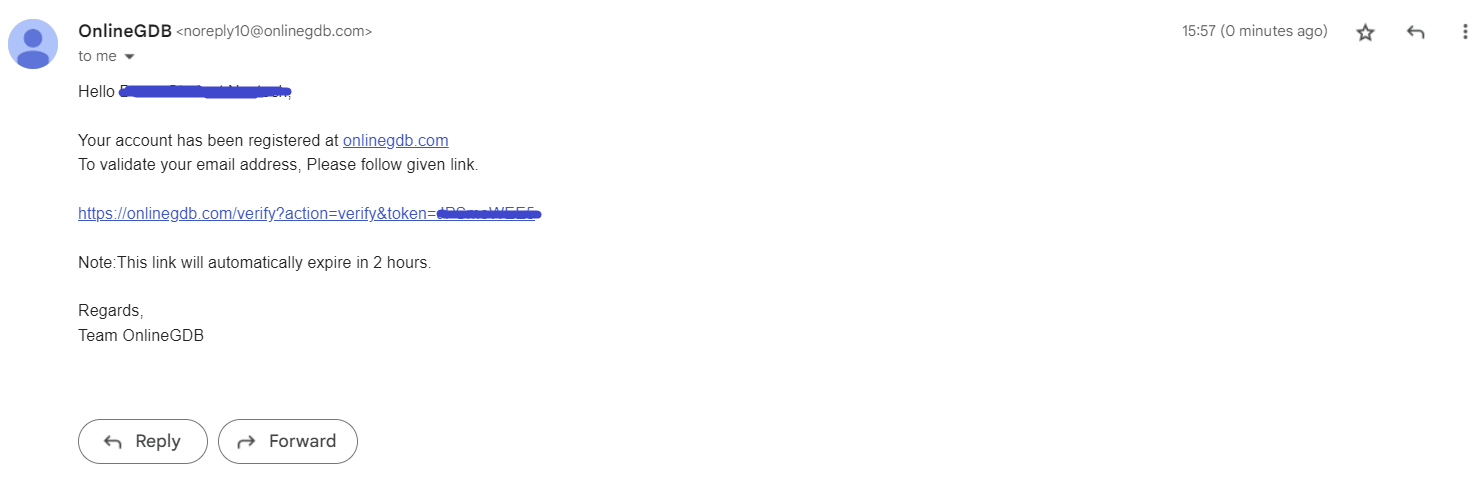
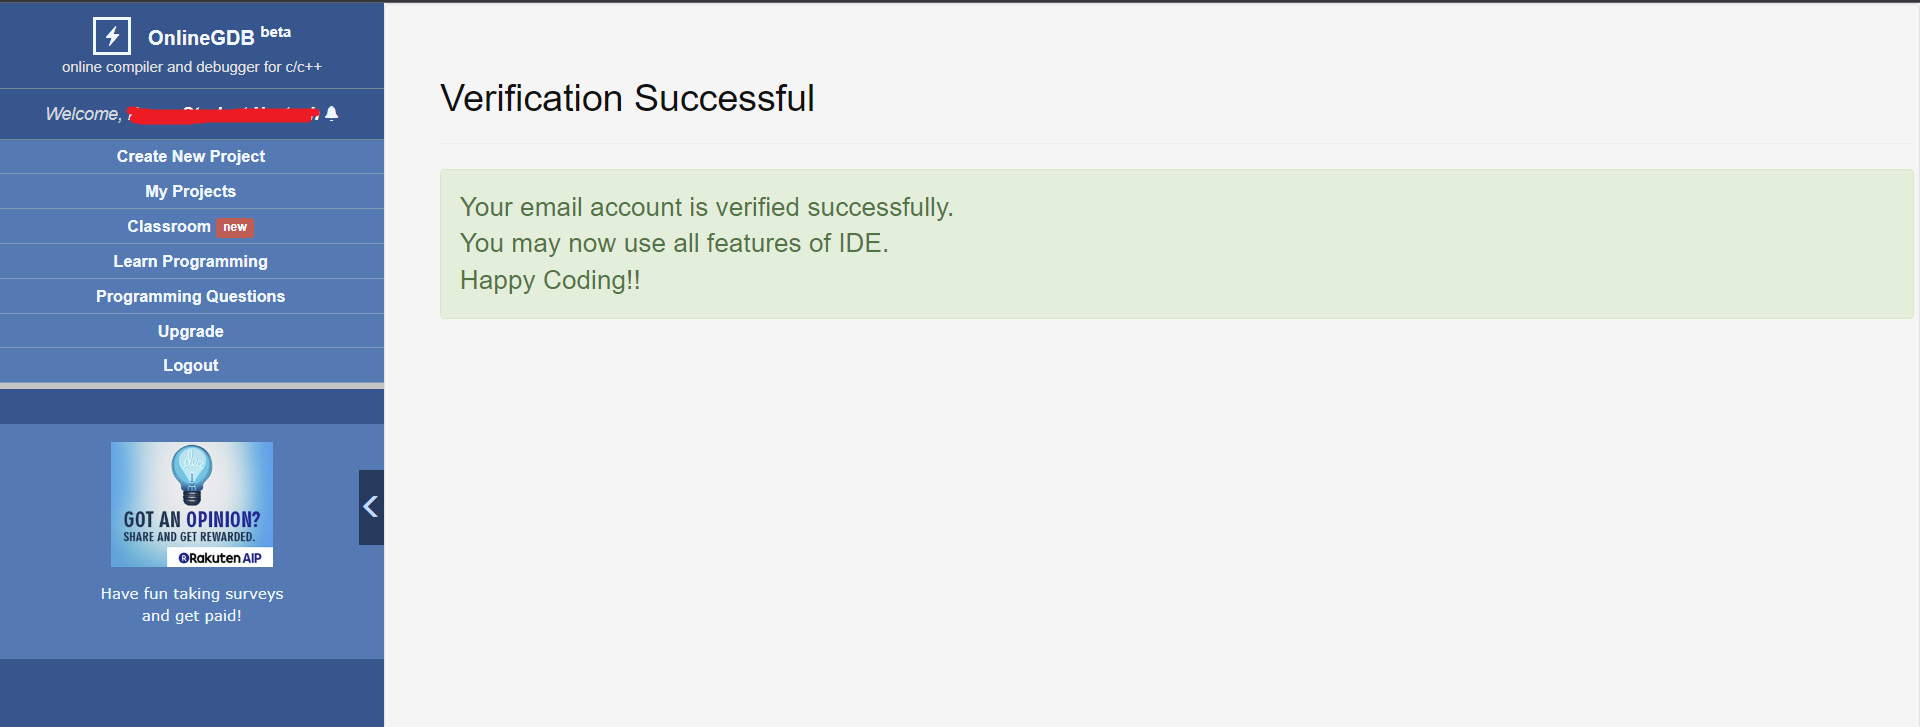
Step 5: Verify Your Email Address
-
Check your email inbox for a message from GDB.
-
Open the email and locate the verification link provided.
-
Click on the verification link to confirm your email address.
-
You will be redirected to the GDB website, confirming the successful verification of your email address.
Step 6: Log in to Your Account
-
Return to the GDB website.
-
Click on the Login button in the left side panel.
-
Enter your registered Email ID and password in the respective fields.
-
Click on the "Log in" button to access your GDB account.
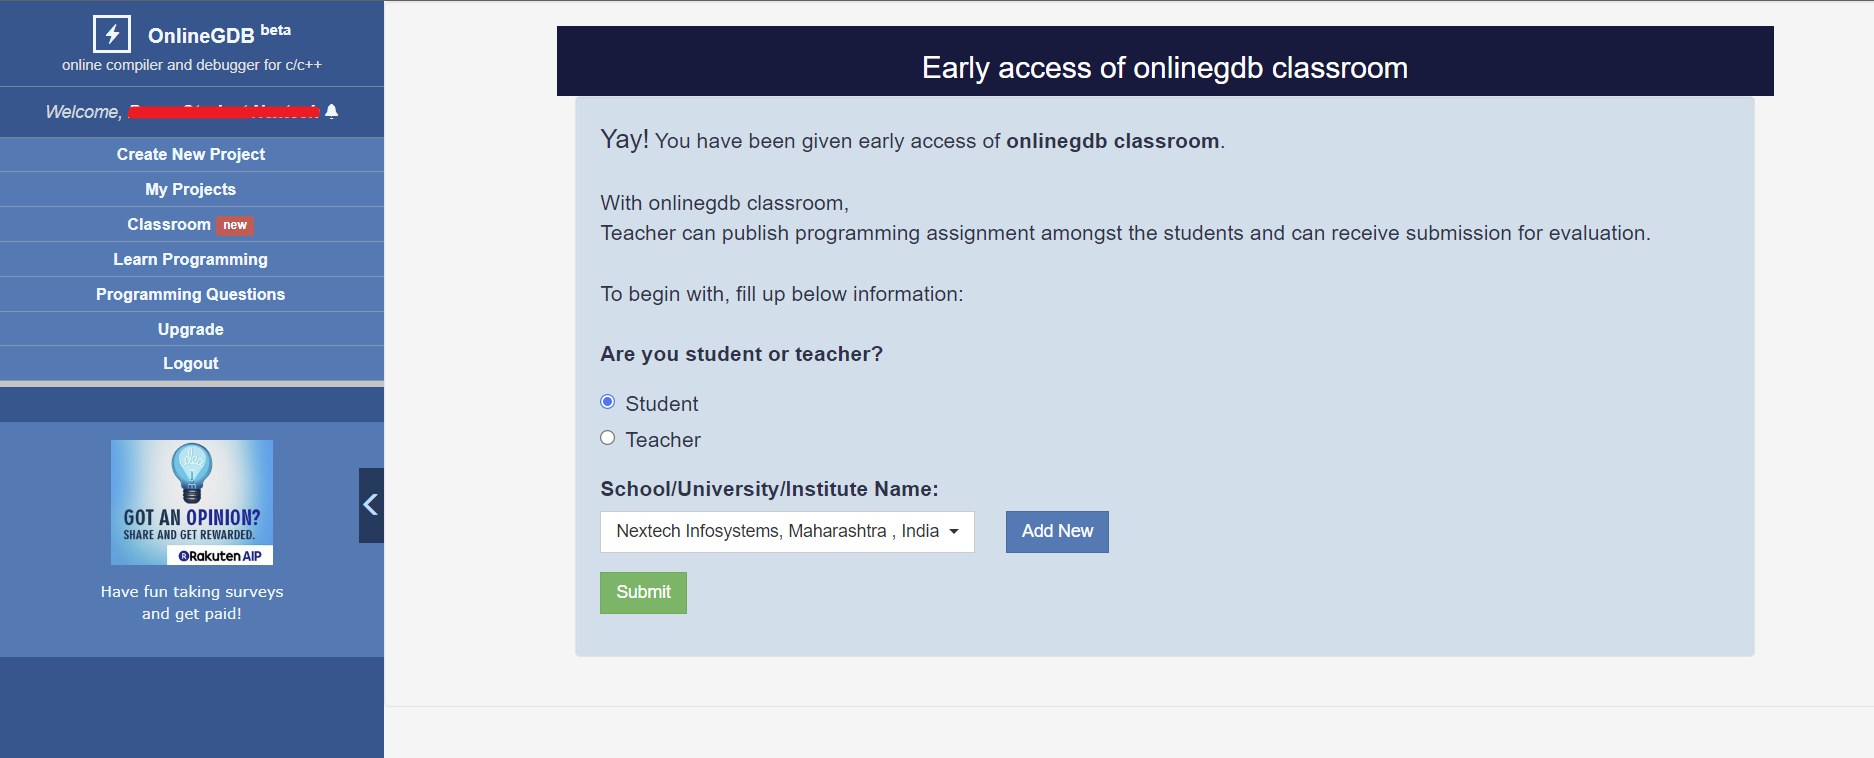
Step 7: Set Your User Type
-
Upon logging in, click on the Classroom button in the left side panel.
-
You will be prompted to select whether you are a Student or Teacher. Choose the "Student" option.
-
The system will then ask you to select your University.
-
Select "Nextech Infosystems" from the provided options, or enter the name of your college or university.
-
After selecting your university, click on the "Next" button to proceed.

Conclusion
Congratulations! You have successfully created your GDB account. You can now explore the various features and tools available on the platform to enhance your programming skills. Enjoy your learning journey on GDB!
Hello students,
We understand that some of you may have questions about How to submit assignment?, How to run code?, How to run test cases?, etc., so let's go through it step by step.
1. How to Code?
Below is a sample code for addition of 2 numbers.
#include<stdio.h>

int main()
{
    int num1, num2, sum;

    //clrscr();     // Optional, depends on Compiler (TurboC / GCC)

    printf("\nFor Addition of 2 Numbers");

    printf("\nEnter First Number = ");
    scanf("%d", &num1);

    printf("\nEnter Second Number = ");
    scanf("%d", &num2);

    sum = num1 + num2;

    printf("\nAddition = %d", sum);

    //getch();     // Optional, depends on Compiler (TurboC / GCC)

    return 0;
}
2. How to Run?
You can run your program as many times as you want. After writing your code, simply click on the 'Run' button at the top of the page. The output of your program will be displayed in the console at the bottom.
3. How to Test Before Submit?
Testing is an important part of programming. You can test your program with different inputs to make sure it's working correctly. But, keep this in mind, many online compilers, or playgrounds provide automated tests. Where you don't have to test each test case separately. All the test cases assigned with the assignment are tested automatically. You just have to hit the "test" button. Consider it as, the system is testing your program for different inputs for you.
4. Understanding Test Cases
Test cases are used to check if your program is working correctly in all situations. Consider for this assignment, suppose there are 5 test cases. This does not mean you need to give 5 inputs every time you run your program.
Instead, each test case will automatically run your program once with a specific input to see if it gives the correct output.
For example, one test case might check if your program correctly adds 2 and 3 (the output should be 5). Another test case might check if it correctly adds -1 and 1 (the output should be 0). You don't need to worry about these specific inputs; just focus on writing a program that can correctly add any two numbers.
5. When to Submit?
After you've written and tested your code, and you're confident that it's working correctly, you can submit it for grading. Make sure all test cases pass before you submit! If a test case fails, that means there's still something wrong with your program that needs to be fixed.
Remember, programming is a process of trial and error. Don't be discouraged if your code doesn't work perfectly the first time.
Keep trying, keep testing, and keep learning!
Good luck with your assignments and coding challenges! 😊